Learning how to Nintendo 64 is easier than most people think. The Nintendo 64, released in 1996, remains one of the most beloved retro gaming consoles ever made. Whether someone just found one at a garage sale or pulled their childhood system out of storage, getting it running takes just a few simple steps. This guide covers everything needed to set up, connect, and play a Nintendo 64 in 2025, including tips for modern TVs and fixing common problems.
Table of Contents
ToggleKey Takeaways
- Setting up a Nintendo 64 requires five essential items: the console, AC adapter, AV cables, controller, and game cartridges.
- Connect the Nintendo 64 to modern TVs using composite-to-HDMI converters ($15-30) or dedicated upscalers like RetroTINK for better image quality.
- Clean cartridge contacts with 90%+ isopropyl alcohol instead of blowing into them, which can cause corrosion over time.
- Some games like Donkey Kong 64 and Majora’s Mask require the Expansion Pak memory upgrade to run.
- Most Nintendo 64 issues—black screens, freezing, or glitchy graphics—are solved by cleaning the cartridge and console contacts.
- For the authentic retro gaming experience, consider using a CRT television, which displays N64 games exactly as originally intended.
What You Need to Get Started
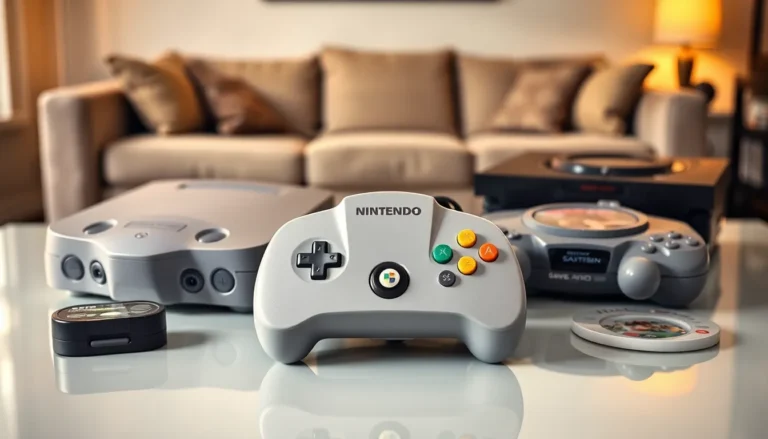
Before powering on a Nintendo 64, players should gather several essential items. The console itself is the obvious starting point. It should include the gray control deck unit with the power button on top.
Here’s a quick checklist of required components:
- Nintendo 64 console – The main unit where cartridges are inserted
- AC adapter – The power supply that plugs into the back of the console and a wall outlet
- AV cables – The composite cables (red, white, and yellow plugs) that connect audio and video to a TV
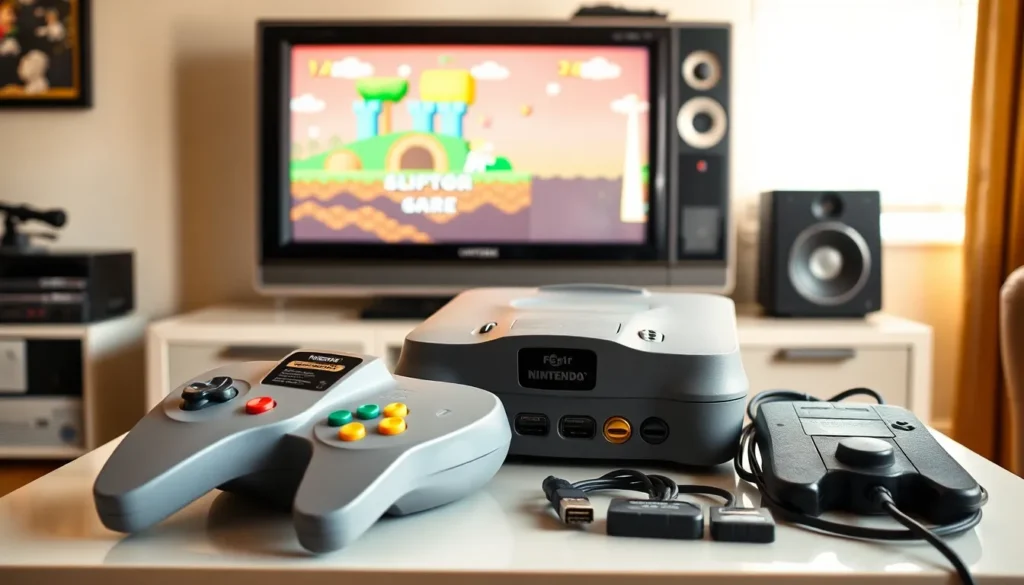
- Controller – At least one N64 controller with the distinctive three-pronged design
- Game cartridges – The physical games that slot into the top of the console
All original Nintendo 64 systems came with these components. If buying a used system, double-check that everything is included. Third-party replacements work fine for AC adapters and AV cables. Controllers can be original or modern reproductions.
One often-overlooked item is the Expansion Pak. This small memory upgrade plugs into the front of the console. Some games like Donkey Kong 64 and The Legend of Zelda: Majora’s Mask require it to run. Most games work without it, but having one expands options.
A memory card, called a Controller Pak, plugs into the back of each controller. Many games save directly to the cartridge, but some titles need external memory for save files.
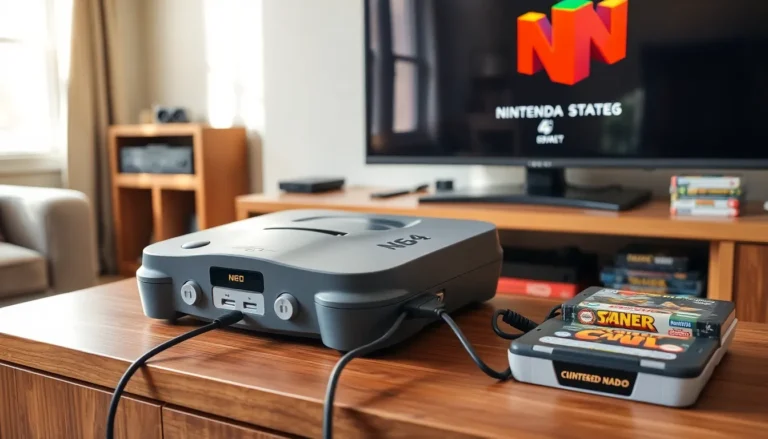
Connecting the Nintendo 64 to Your TV
Connecting a Nintendo 64 to a television involves three main connections. First, plug the AC adapter into the back of the console and into a power outlet. Second, connect the AV cables from the console’s Multi Out port to the TV. Third, plug in the controller.
The AV cable has three color-coded plugs:
- Yellow – Video signal
- Red – Right audio channel
- White – Left audio channel
Match each plug to the corresponding input on the TV. Most older TVs have these inputs on the front or side. Once connected, turn on the TV and switch it to the correct input channel, usually labeled “AV,” “Video,” or “Input 1.”
With the game cartridge inserted and everything connected, press the Power button on the Nintendo 64. The console should boot up immediately.
Using Modern TVs and Adapters
Modern flat-screen TVs often lack the traditional composite inputs that the Nintendo 64 uses. This creates a challenge for retro gaming fans. Several solutions exist.
Composite to HDMI converters are the most affordable option. These small devices accept the yellow, red, and white plugs and output an HDMI signal. They cost around $15-30 and work reasonably well. Image quality won’t be perfect, but it gets the Nintendo 64 running on any modern TV.
RetroTINK and similar upscalers provide better results. These dedicated retro gaming devices convert analog signals to digital while preserving image quality. They reduce input lag and produce sharper visuals. Prices range from $70 to $300 depending on the model and features.
S-Video cables offer improved picture quality over standard composite. The Nintendo 64 supports S-Video output, and some modern TVs still include S-Video inputs. This is a cheap upgrade if the TV supports it.
Players serious about retro gaming often invest in a CRT television. These older tube TVs display Nintendo 64 games exactly as intended. CRTs are frequently available for free or cheap through online marketplaces.
Inserting and Playing Game Cartridges
Playing games on a Nintendo 64 requires proper cartridge handling. The process is simple but worth doing correctly to avoid issues.
To insert a cartridge:
- Hold the cartridge with the label facing forward
- Line up the cartridge with the slot on top of the console
- Push down firmly until the cartridge clicks into place
- Press the Power button
The game should load within seconds. If the screen stays black or shows glitchy graphics, remove the cartridge and try again.
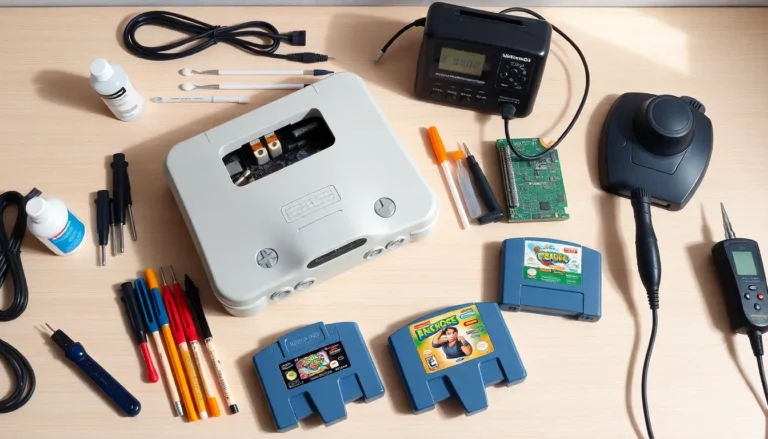
Cleaning cartridges improves reliability. Dust and grime build up on the metal contacts over time. Use a cotton swab dipped in isopropyl alcohol (90% or higher) to gently clean the connector pins. Let it dry completely before inserting.
Avoiding the old “blow into the cartridge” trick is actually recommended. Moisture from breath can cause corrosion on the contacts. Proper cleaning works better and protects the game long-term.
To remove a cartridge, simply pull it straight up. Never yank it out at an angle. Always power off the console before removing or inserting games.
Nintendo 64 games don’t require installation or updates. They’re ready to play instantly, one of the best things about retro gaming.
Troubleshooting Common Issues
Even well-maintained Nintendo 64 consoles can have problems. Most issues have straightforward fixes.
No power at all – Check the AC adapter connection at both ends. Try a different outlet. If the red LED on the console doesn’t light up, the power supply may need replacement.
Black screen with power on – The cartridge connection is usually the culprit. Remove the game, clean the contacts, and reinsert it. Also clean the cartridge slot inside the console using compressed air.
Flickering or distorted video – Loose AV cables cause this frequently. Push the connections in firmly. Damaged cables should be replaced, they’re inexpensive.
Controller not responding – Test with a different controller if available. Check that the controller is fully plugged into the console. The controller ports can get dusty, so compressed air helps here too.
Game freezes or crashes – Dirty cartridge contacts often cause mid-game freezes. A thorough cleaning usually solves this. Some games also freeze if the Expansion Pak is required but missing.
Save files not working – Games that use Controller Pak memory need the memory card inserted. Check the battery inside the cartridge for games with internal saves, some older cartridges have dying batteries that prevent saves.
When a Nintendo 64 has persistent issues even though troubleshooting, the internal components may need attention. Capacitors can fail after 25+ years. Repair services exist for collectors who want their original hardware restored.